
About Future Stiles
Future Stiles is a relatively new player in the tile industry, but it has quickly gained recognition for its innovative and modern designs. The brand focuses on merging cutting-edge technology with artistic craftsmanship to create unique and visually appealing tiles.
Latest Post
Floor Tiles Design for House to Stylish & Durable Flooring
Marble Tile Price: Complete Guide to Cost, Types, and Buying Tips
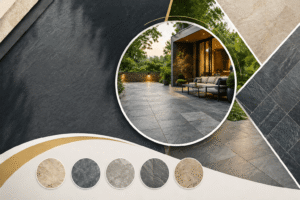
Stone Outdoor Floor Tiles: Complete Guide to Durable & Stylish Outdoor Flooring
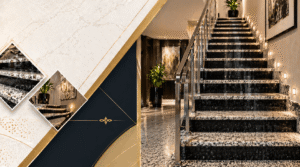
Residential Staircase Granite Design Complete Guide to Stylish & Durable Staircases
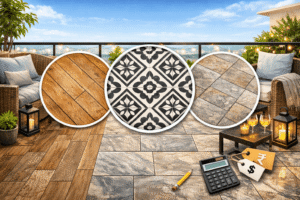
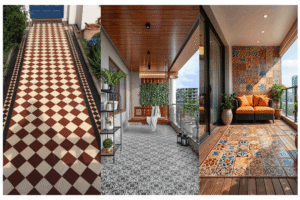
Balcony Tiles Design & Price Complete Guide for Stylish Outdoor Spaces
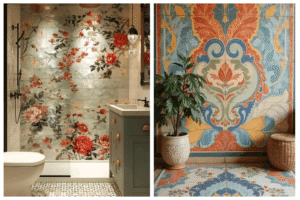
Front Wall Tiles Design Complete Guide to Stylish and Modern Wall Tiles
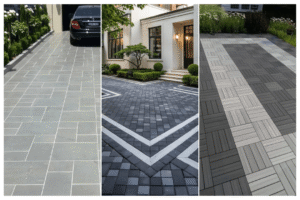
Parking Tiles Design at Home Complete Guide to Stylish and Durable Outdoor Flooring
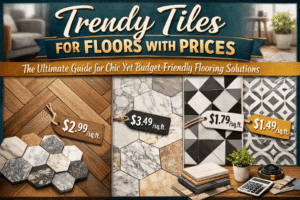
Latest Tiles Design for Floor: Trending Tiles Design Ideas to Transform Your Space in 2026
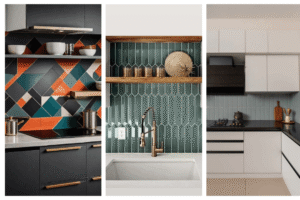
Modern Kitchen Tiles Design: Stylish Ideas for Kitchen Tiles.


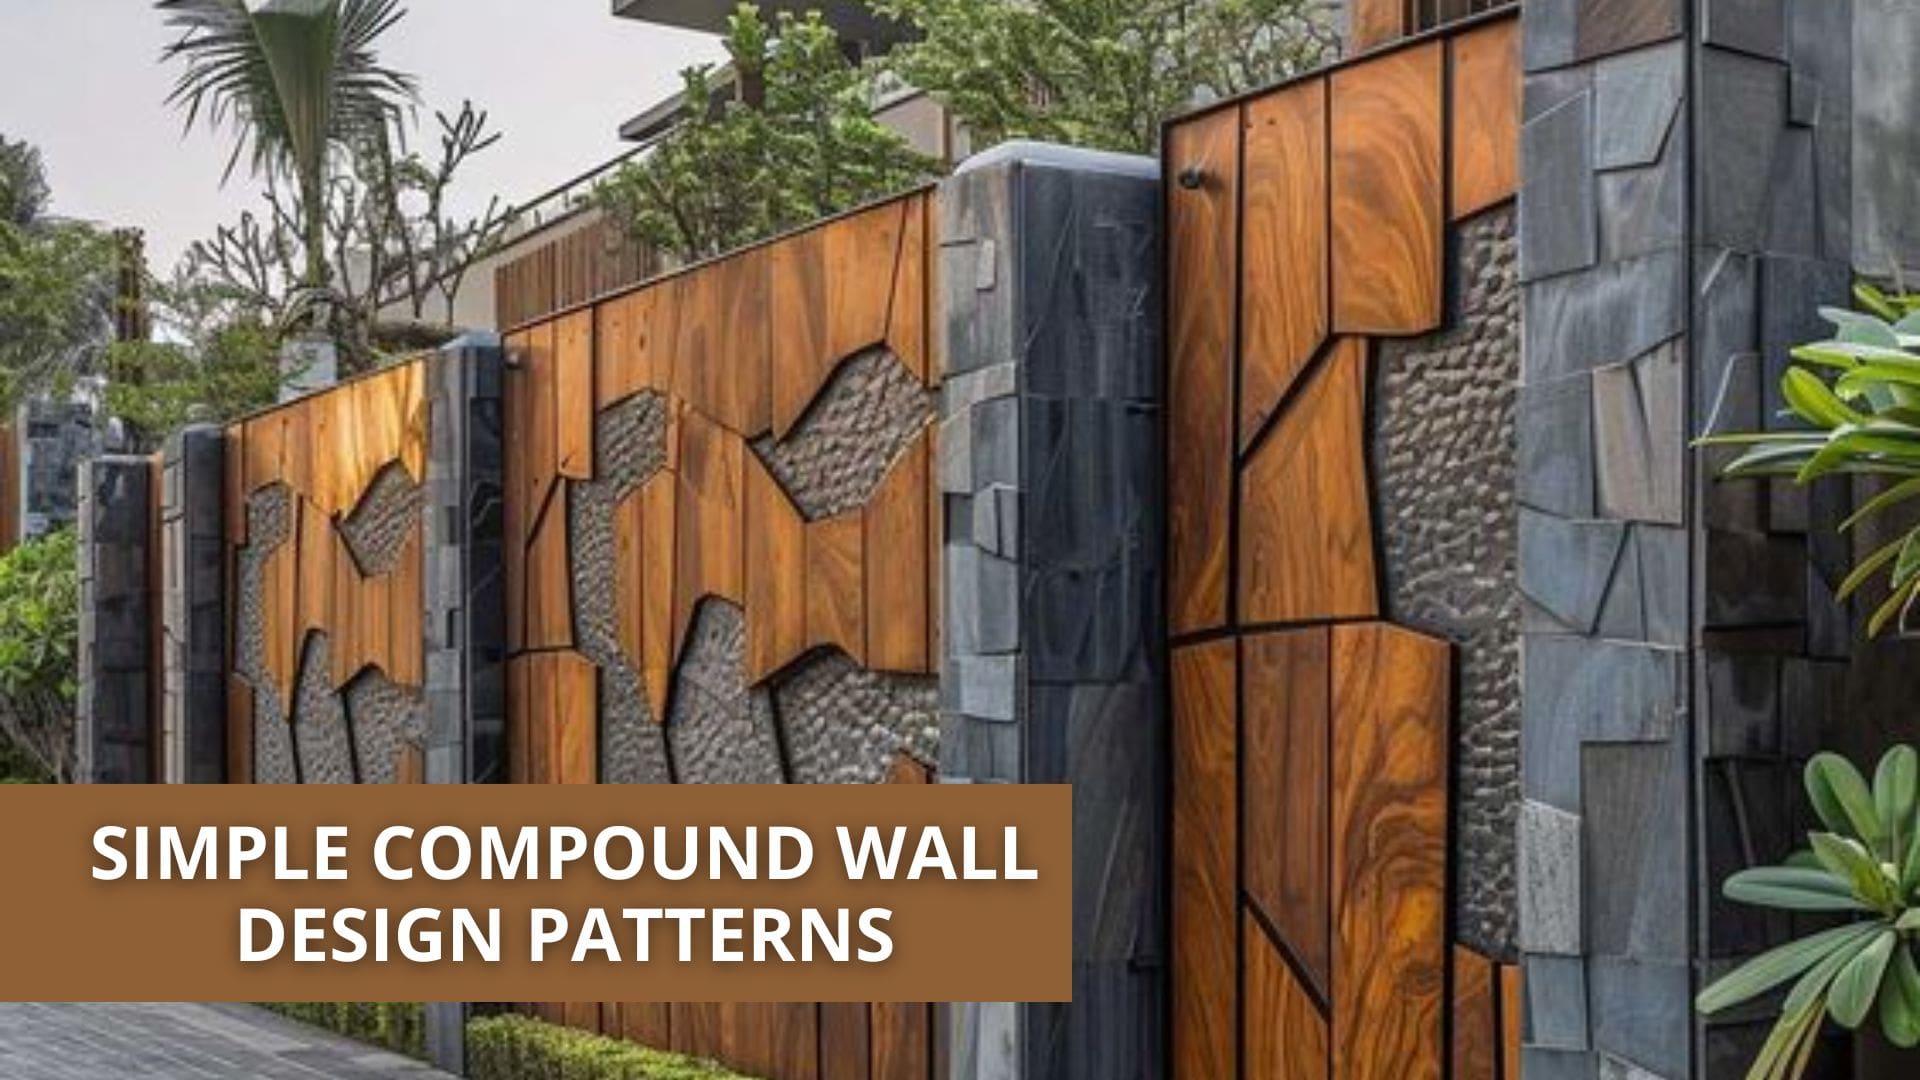
Simple Compound Wall Design Patterns: Combining Elegance and Functionality
- Futurestiles
- September 2, 2024
- 4:30 pm
Compound walls, which most people ignore, serve as the first impression of a property even though they are often just viewed as fences. They constitute the outer element of the house or a building, which gives the courtyard or grounds an order and security. However, aside from their functional use, compound walls offer a lot of aesthetic value as well. Good or even beautiful design of the compound walls is functional as well as enhances the overall look of the property. Modern minimalistic patterns of compound walls became very popular in the last several years, which due to their simplicity visually suit the buildings of many styles. This article covers the various designing aspects of simple compound wall patterns and conveys easy and helpful ways of constructing a fence that is not only practical but also artistic.
Don’t Wait to Impress – Connect with Us for Stylish Compound Wall Tile Designs
Have Questions? We Have Answers. Let’s Connect
Click Here1. The Importance of Simple Compound Wall Design
These simple compound wall designs are appreciated by many users due to their sophisticated nature. As opposed to complex or ornamental designs, simple patterns eliminate excessive details, and structure the designs to basic lines and symmetry which can be related to many buildings, may it be modern and recent versus old traditional or rustic. These aren’t just decorative designs; there are also various functions served by these:
- Security: The very primary purpose of having a compound wall is security and protection. There can still be very simple designs that involve the use of tough copies and or materials even when style is not something to worry about..
- Privacy: Compound walls designed and built with care keep away outsiders but have an open, breezy feeling inside.
- Curb Appeal: Even after a minimal effort of erecting the wall, the property looks attractive than before increasing its chances of selling at a higher value.
- Durability: Most of the basic designs do tend to employ the cheap materials whose maintenance is low thus serving the purpose without any strain.
2. Materials for Simple Compound Wall Designs
Material selection is one of the factors that determine the effectiveness and the aesthetics of the construction of the compound wall. Here are the common materials utilized in contemporary-style compound walls.
Concrete: Concrete is a common material for wall compounds due to its stability, affordability, and versatility. It can be part of different forms and textures offering lots of variables on designs. Concrete walls could be left as it is or could also be colored basing to the recommendation of the building’s color scheme.
Brick: Walls created from bricks always have a class and can be used in simple patterns that stand out. The bricks surface offers an impression unlike other materials and so when combined with different laying techniques, which could be running bond, stack bond or Flemish bond produces a rather excellent pattern.
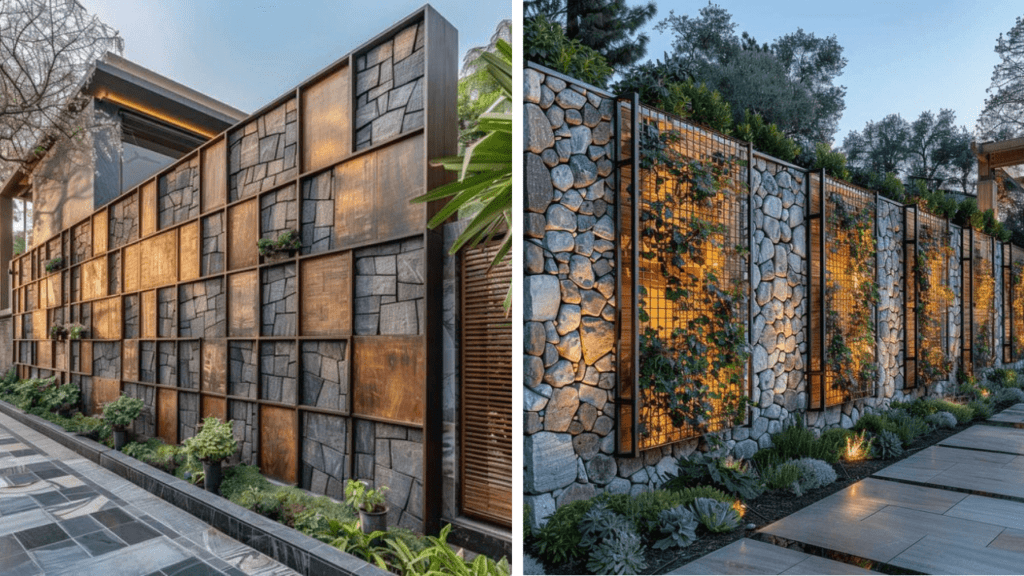
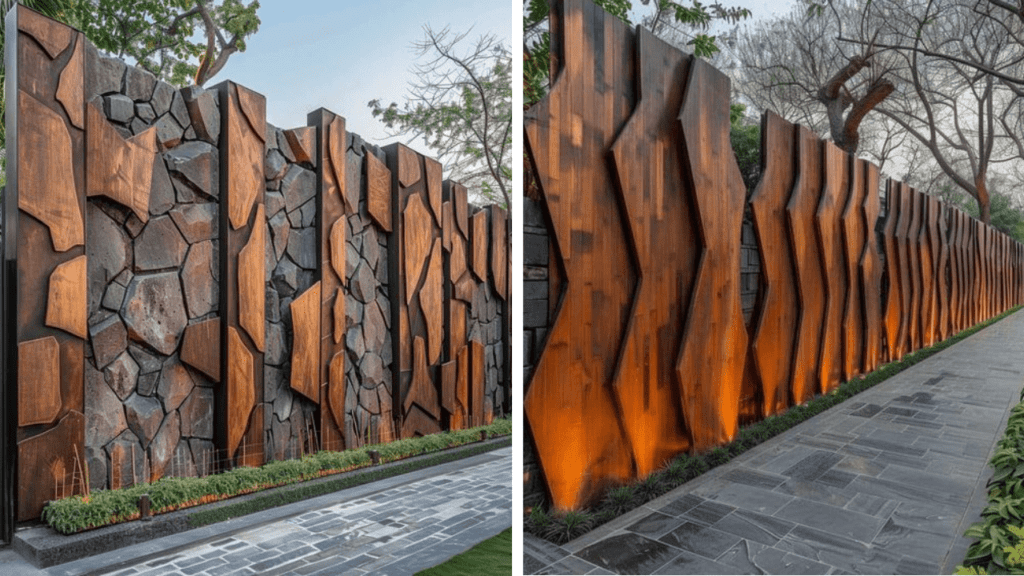
Stone: Stone walls naturally give the building a countryside appeal and are best suited for a rural country. Simple geometric patterns can be constructed out of granite, sandstone, or limestone to make an attractive and durable wall.
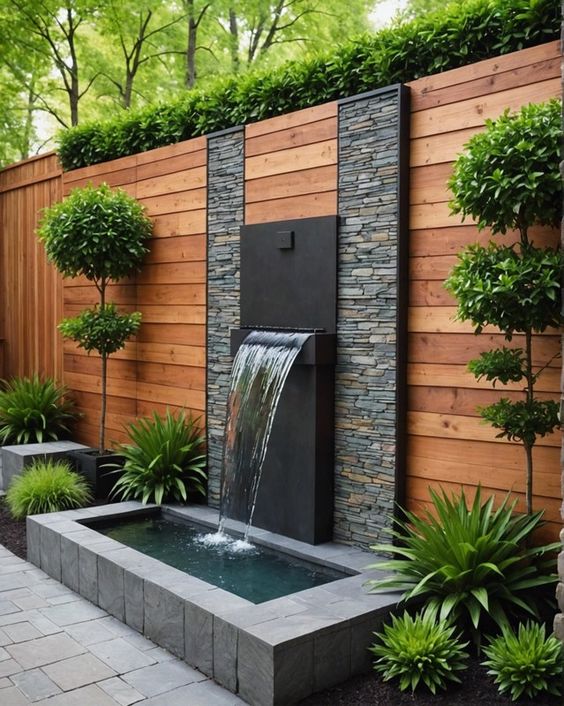
Wood: The wooden compound walls are also very attractive and are quite green to the environment. They are very appropriate for lots that incorporate elements of nature or have a minimalist concept. Wooden slates can be positioned parallel, perpendicular or at an angle to each other to form a simple yet beautiful motif.
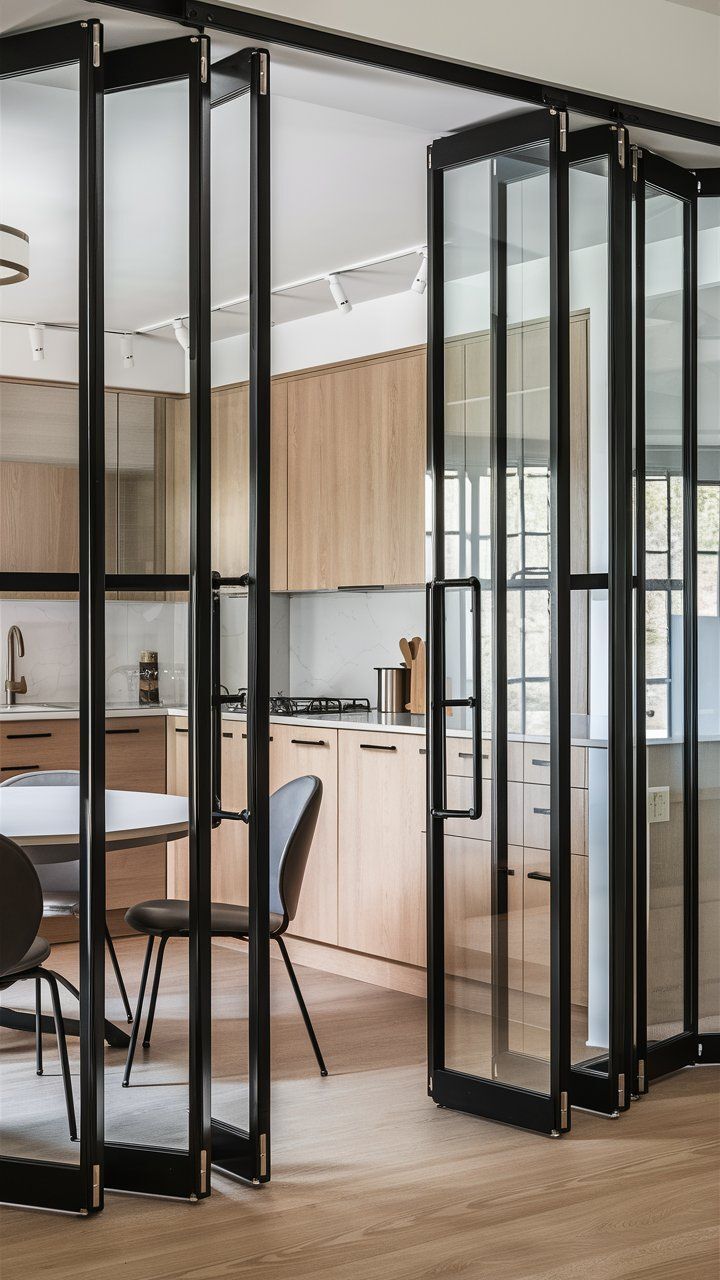
Metal: The other type of compound wall, metal-based, usually used and create a sleek design is steel or iron. Such design of walls mostly has geometric figures/shapes or a lattice pattern which is aesthetically pleasing and secure.
")
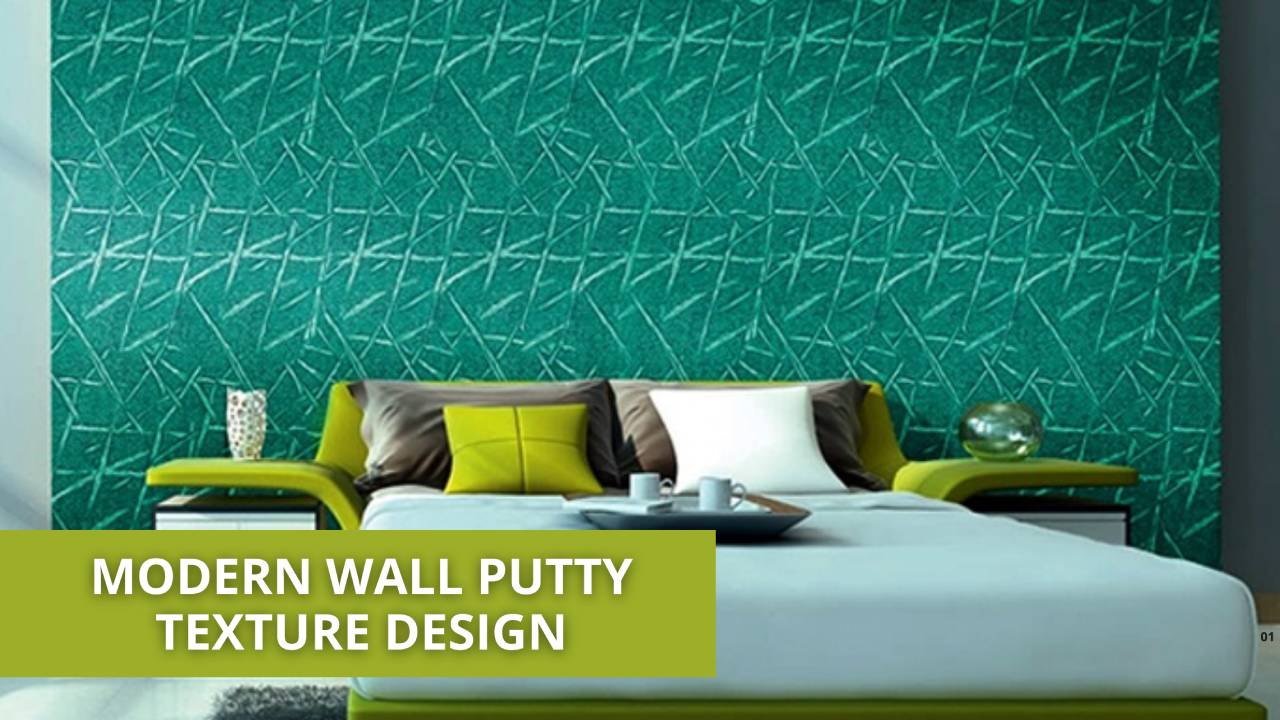
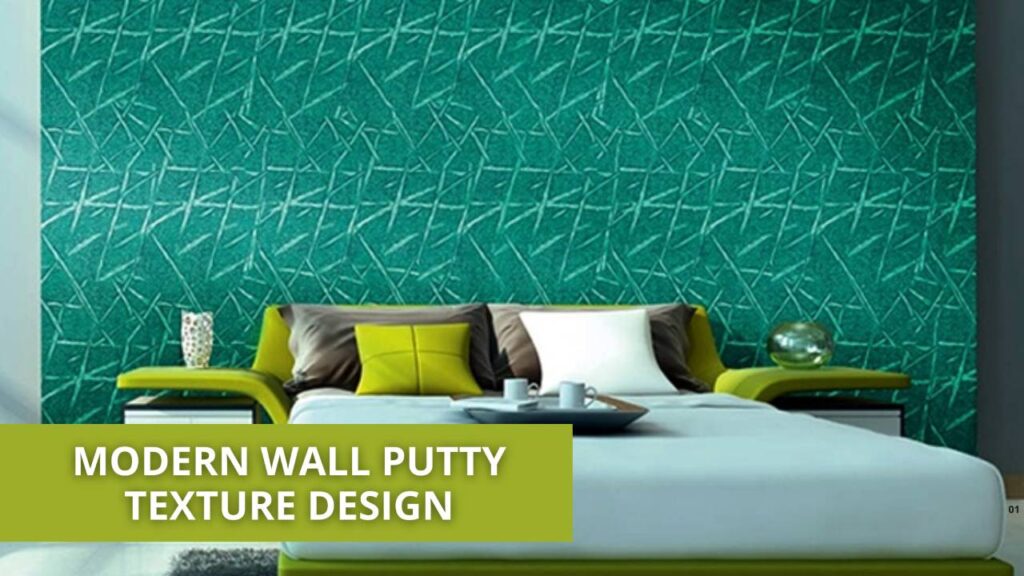
2. Benefits of Modern Wall Putty Texture Designs
- Aesthetic Appeal: With the help of modern wall putty texture designs, a variety of aesthetic ends can be achieved. These range from light textural treatments with an aim of bringing out details of walls to extreme texturing that is attention catching, though the list of textures on offer is practically endless. Whether one leans towards a minimalist appeal of plain and smooth untextured wall surfaces or impressive features flaunting intricate designs, there is always a wall putty style that will meet the standards.
- Durability: One of the tiniest wrongs while using wall putty for textured designs is it‘s durability. Wall putty is impervious to moisture, does not crack or peel easily making it the best option on surfaces that tend to be abused. Regular paints or plaster surfaces are liable to wear and tear and as such needs a lot of repairs or retouches but extreme for wall putty texture designs are long within time and need less attention.
- Cost-Effective: Textured designs in that wall putty, is great to save a lot of money on walls decoration. The varieties of decent wall scrolls and textured paints, rich and beautiful but very expensive, are mostly avoided as wall putty as an alternative to walling designs achieves the same quality at lesser price. On the other hand, using wall putty means that you will not have to spend a lot of money on repairs and maintenance.
- Versatility: Wall putty can and is very much multi-purpose applied creating various textures and patterns. If it is ate it can be brought back whereby for designs wall putty is rough rustic or sleek and modest. Also, any color can cover it which lets you further decor your walls.
- Smooth Finish: Apart form making decorative designs with a wall putty, it is also useful in giving a smooth even most hna difference finish on the wall. This is of utmost importance especially where high gloss paints are to be used because all the surface imperfections are going to be magnified. Smoothening the walls not only adds the aesthetics of the wall but also helps the paint sticks on properly and this makes the work more appealing in the end than if it was all painted as is.
- Improved Paint Adhesion: Wall putty is also beneficial as it makes the paints to stick rather better than just texturizing the walls. When wall putty is skillfully done, it becomes the boundary of paint whereby the dice of face paint is carefully spread without little to no risk of its peel off. This makes the paint last and appear more also to the eyes.
- Environmental Benefits: Most of the wall putties manufactured today can be considered to be green in nature and are thus suited for natural home interiors. The products contain a low amount of volatile organic compounds which means that they have low emission of harmful gases. Choosing such environmental friendly wall putty means that you are able to improve the quality of the indoor environment and Lower your exposure to greenhouse gasses.
3. Design Patterns for Simple Compound Walls

The design concepts are quite basic to interpret, however, they do not make them any less appealing. Here are a few pictures of the popular patterns for simple compound walls:
- Horizontal and Vertical Lines: Incorporation of horizontal or vertical lines is among the easiest and most effective techniques that can be applied to achieve simple compound wall designs. Horizontal lines will make the wall look broad and will appear to be swept over horizontally, while vertical lines will increase the height of the wall and will give an elegant feel.
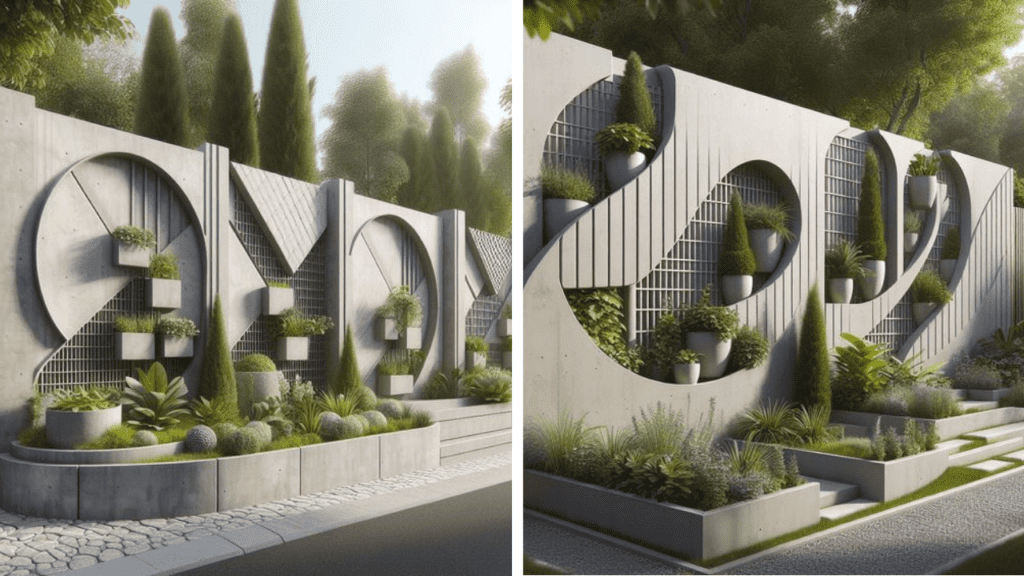
- Geometric Shapes: Adding geometric shapes such as square rectangles or circles even in a simple compound wall can make it stand out. Such patterns may be inscribed, painted or built up with other materials in order to enhance the dull and featureless wall surface.
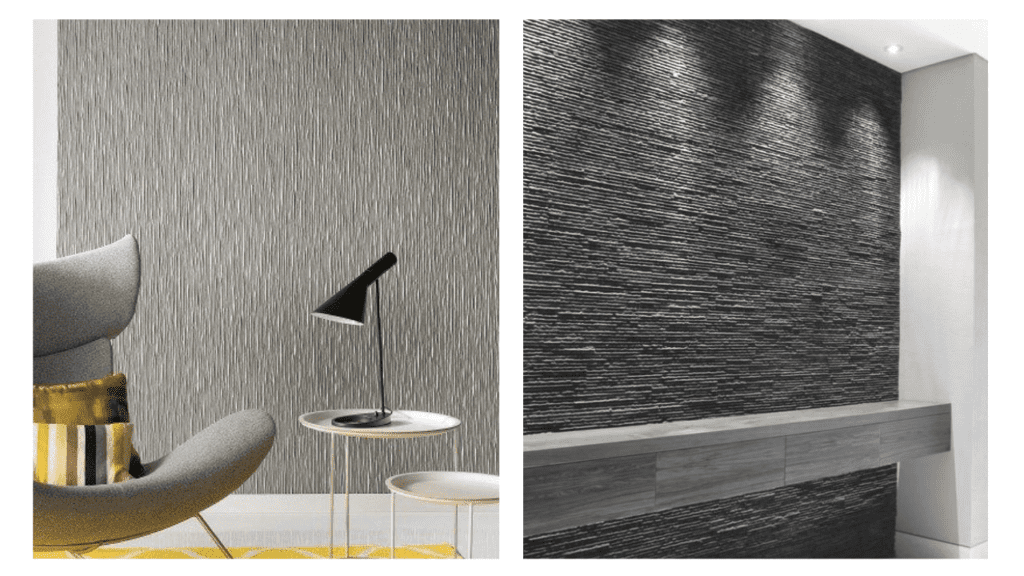
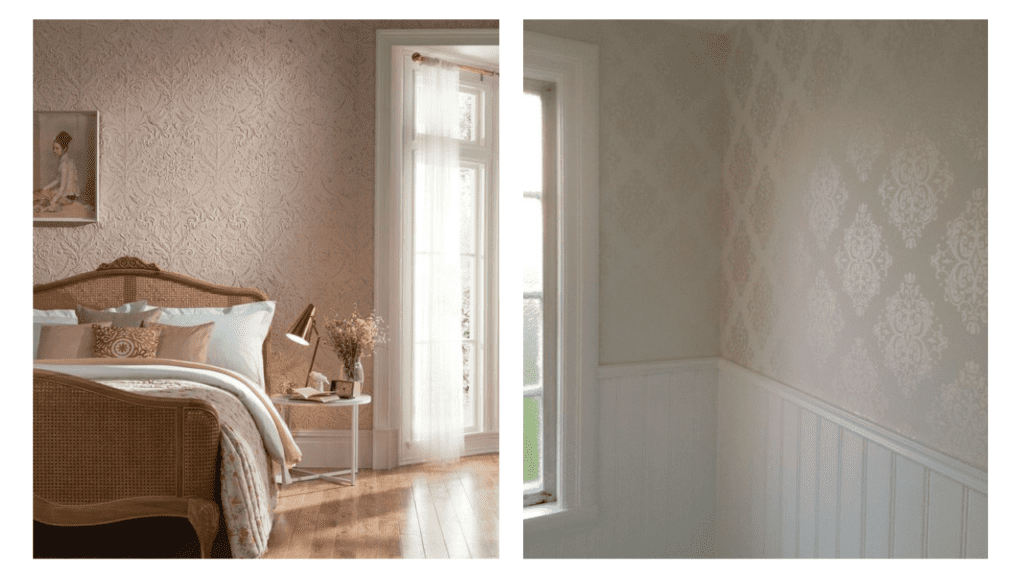
- Textured Finishes: An always plain wall without any designs is always an unpleasant boundary but with a textured finish, it can be stylish. Use of stucco, plaster or even exposed aggregate will enhance and add value to the wall while ensuring the style remains basic.
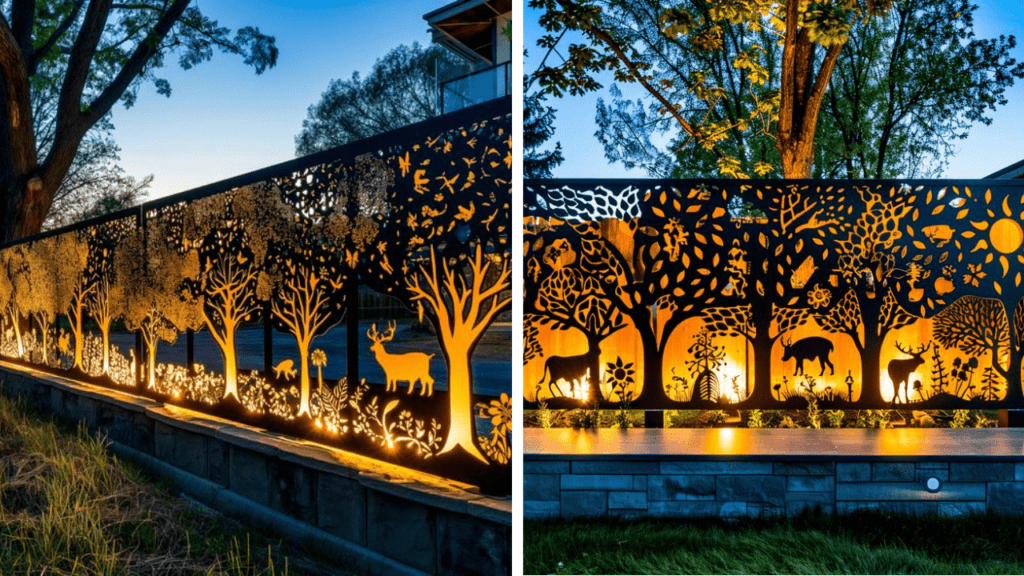
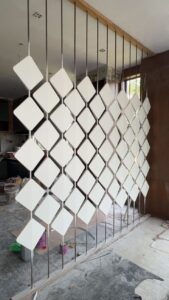
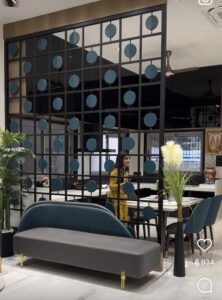
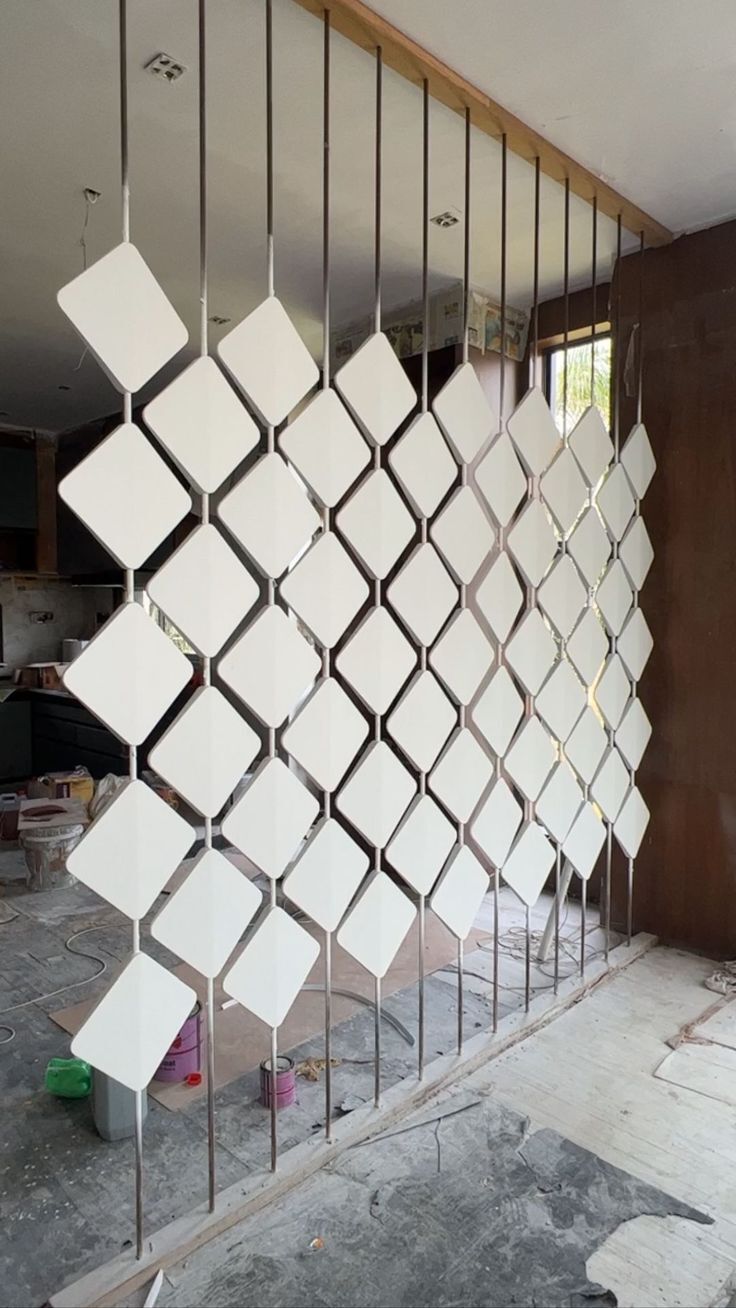
- Perforated Patterns: Perforated walls also called jaali or lattice walls are walls that combine cumbersome beauty and utility. These walls are provided with smaller openings or cut outs which are arranged in different patterns for the penetration of light and air while retaining privacy. Perforated patterns can be either simple straight lines or grid patterns as they have contemporary looks and delightful atmosphere.
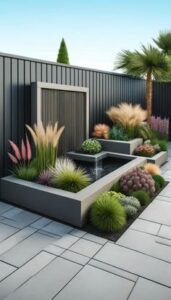
- Vertical Gardens: Adding green walls has been a recent trend in the design of compound walls since it adds life to the structure rather than making it so rust. In less complicated designs, it entails beautifying portions of the wall with planters or green panels that tend to evoke tranquillity.
- Layered Designs: As the name suggests, a layered design is made by even creating different levels or depths on the wall surface etc. These can be done by using different thickness of materials or by providing some ledges and protrusions etc. Layered designs do not complicate the wall too much in terms of fancy addition of other elements which look quite busy.
- Symmetry and Repetition: Symmetry and repetition is significant design elements in uncomplicated compound wall design. The arrangement of bricks, stones or metals in a repeated pattern is pleasing to the eye due to the harmony and order it creates.
4. Color and Finishes for Simple Compound Wall Designs
Color affects the aesthetic value of a compound wall and its usage in construction is worth noticing. In plain designs, color schemes can help the wall either to merge with the environment or, if emphasized, to appear as a purposeful detail. Following are some guidelines for color and finishes:
- Neutral Tones: For simple compound wall structures, neutral tones such as white, gray, beige and light-toned earth colors are preferred. These colors have elegance and can be easily assimilated with the natural surroundings.
- Monochromatic Schemes: A monochromatic color scheme is one which includes use of a single color in varying tints and shades. It is one of the best schemes that works especially on simple wall design and adds not only interest but a whole new dimension as well.
- Combining Colors: The more daring alternative of combining colors can be used to appeal to specific parts of the wall. For instance, a dark lower wall can be seen to have light upper walls as opposed to painting the whole wall where the upper section only has a little bit of paint.
- Apply Natural Finishes: Simple designs also work well in enhancing love towards the finish of materials such as wood, stone, or concrete Emphasis of where brick walls thanks to the rawness or unclad finishes of concrete fits in this contemporary while retro manner.
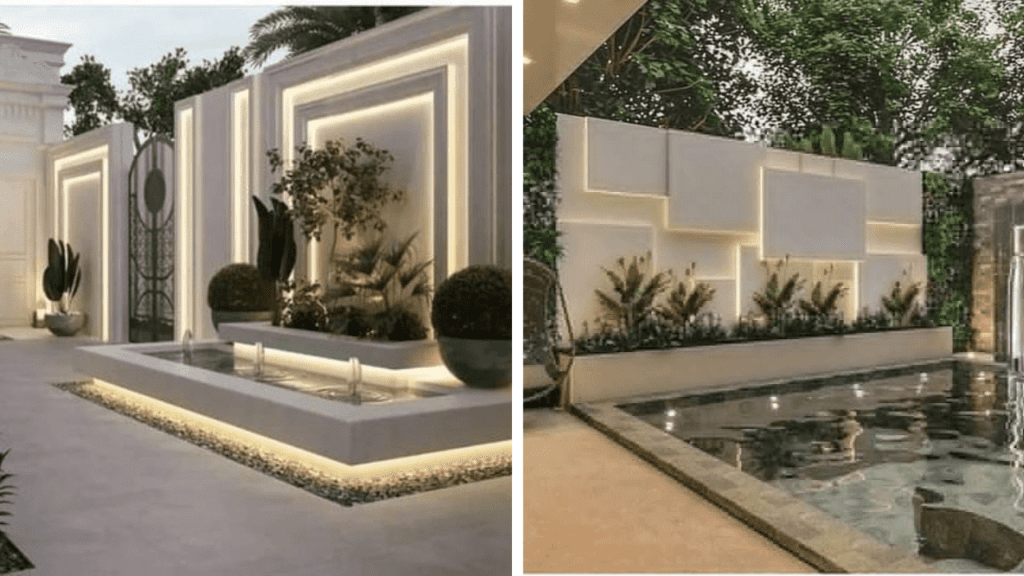
5. Integrating Lighting into Compound Wall Designs
One of the components of the design of compound walls that is not usually given enough attention is wall lighting. All these calls for proper wall lighting as well as incorporating it into the whole design as well. Lighting features like outdoor wall sconces can be integrated into the design of a compound wall in simple ways as outlined below:
- Uplighting And Downlighting: Uplighting is lights placed on the bottom part of the wall and are designed to shine towards the upper part of the wall. Downlights illuminate towards the ground from above the general structure. In all, the texture of the wall inclusive of pattern and architectural details can also be highlighted using these other two techniques.
- Backlighting: Backlighting is the arrangement of light sources behind parts of the wall which have holes or are made of translucent material in order to provide a glowing effect. This is very effective in jaali or lattice designs as the light gets through the cutouts and makes beautiful shadows and patterns..
- Recessed Lighting: Recessed lights can also be built in the wall structure for aesthetics as well as convenience. The lights are generally low-key and do not interfere with the design as a whole which makes them appropriate for minimalistic wall patterns.
- Accent Lighting: Among others, accent lighting assists in drawing attention to walls with stylized elements like vertical gardens, textured surface areas or any major feature such as a gate or door. This kind of lighting is effective in retaining the simplicity of decoration while adding a bit more detail in sight.
6. Practical Considerations for Simple Compound Wall Designs
Even though aesthetics are important, there are also practical aspects that need to be taken into account when coming up with a design for a compound wall. Here are a few important aspects that one should bear in mind:
- Height and Thickness: The height and thickness of the wall will be governed by the level of security desired. A thinner, shorter wall will make the enclosure less secure but will require less materials and construction time.
- Gates and Entrances: The form of the gates and entrances shall be in harmony with the design of the wall. To ensure the rest of the wall maintains its cohesive look, the structural designs of the entry points should be very basic and modern with little to no designs on them.
- Drainage: Effective drainage is necessary to avoid pool of water at the bottom of the wall which will cause structural damage. Make sure that enough care is taken to provide for the runoff of water on a design.
- Maintenance: Plan for the upkeep of the appropriate choice of materials and finishes. Some finishes or materials make the construction an easy task, but they are sometimes a maintenance headache as they require regular sealing, painting or cleaning.
7. Conclusion
A simple compound wall design patterns are the ideal combinations of usability, safety, and beauty. Mostly these forms would be able to enhance the aggressiveness of a property even as they perform their basic role of offering protection and privacy through clean sharp edges, minimal beauty, and quality materials. Be it a geometric patterned concrete wall, a textured brick wall, or a perforated metal wall, there must be simplicity and sophistication. A simple strategy cover wall can become an integral part of any house provided there is a little effort made in design, material choice as well as precision touch on the wall and the desired aesthetic thereof.


